What if you could make the most
decadent, most delicious chocolate
dessert in the world — without
turning on your oven?
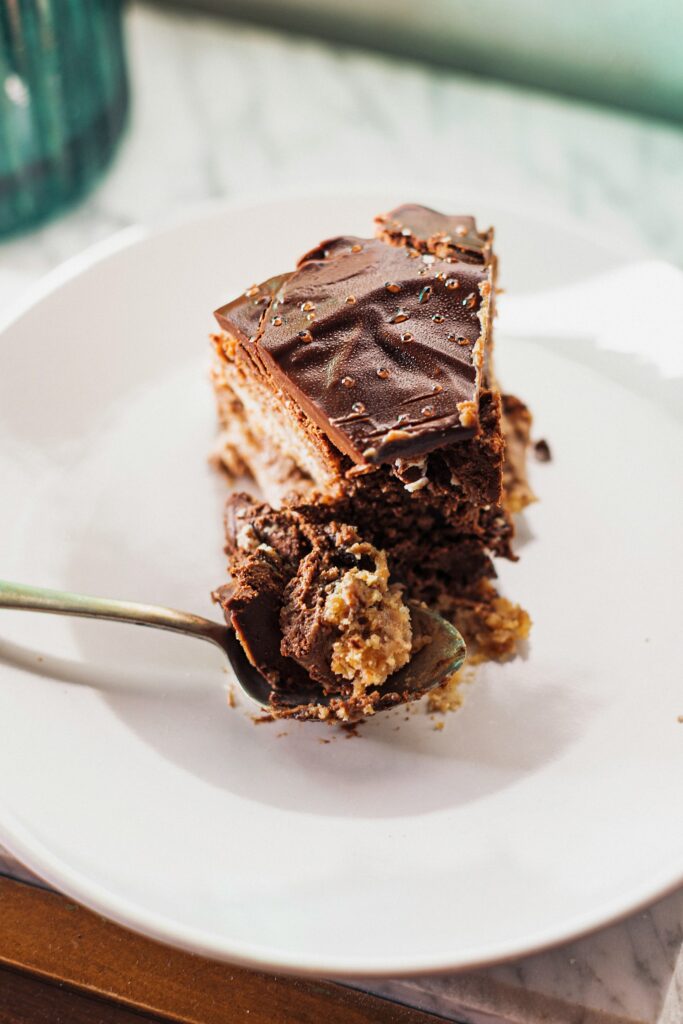
These No Bake Chocolate Peanut Butter
Bars are rich, fudgy, completely
addictive, and made with just
6 simple ingredients.
The combination of creamy peanut butter
and rich chocolate has been making people
weak in the knees for generations.
This recipe captures that magic in
the easiest, most irresistible dessert
you will ever make!
Why These Bars Are Absolutely Irresistible
No bake desserts are having their
biggest moment ever in 2026.
People want incredible desserts
without the complexity of baking —
and these bars deliver exactly that!
No oven required
Ready in 20 minutes (plus chilling time)
Only 6 ingredients needed
Stores perfectly in the fridge for a week
Freezer friendly for up to 3 months
Loved by absolutely everyone
Perfect for meal prep desserts
Ingredients (Makes 16 Bars)
For the Peanut Butter Base:
– 2 cups creamy peanut butter
– 1/2 cup unsalted butter, melted
– 2 cups powdered sugar
– 1 teaspoon vanilla extract
– Pinch of salt
For the Chocolate Topping:
– 2 cups semi-sweet chocolate chips
– 2 tablespoons coconut oil or butter
– Flaky sea salt for topping
– Crushed peanuts for garnish (optional)
Nutrition Information (Per Bar)
– Calories: 285
– Protein: 7g
– Carbohydrates: 24g
– Fat: 20g
– Fiber: 2g
The Perfect Peanut Butter
For the best results always use
commercial creamy peanut butter
like Jif or Skippy — NOT natural
peanut butter.
Natural peanut butter separates
and creates a greasy, crumbly base
that does not hold together well.
Commercial peanut butter has the
perfect consistency for creating
a smooth, firm, perfectly textured base!
Instructions
Step 1: Prepare the Pan
Line an 8×8 inch baking pan with
parchment paper, leaving extra
hanging over the edges as handles.
This makes removing the bars
completely effortless!
Step 2: Make the Peanut Butter Base
In a large bowl, mix peanut butter,
melted butter, vanilla extract,
and salt until smooth.
Add powdered sugar one cup at a time,
mixing well between each addition.
The mixture should be thick, smooth,
and hold its shape when pressed.
If too sticky, add more powdered sugar
1 tablespoon at a time.
Step 3: Press into Pan
Transfer the peanut butter mixture
to the prepared pan. Using your hands
or the back of a spoon, press firmly
and evenly into the pan.
The base should be perfectly flat
and compact. Place in the freezer
for 10 minutes to firm up while
you make the chocolate topping.
Step 4: Make the Chocolate Topping
Add chocolate chips and coconut oil
to a microwave-safe bowl. Microwave
in 30-second intervals, stirring
between each, until completely smooth.
Alternatively melt in a heatproof
bowl over a pot of simmering water.
Step 5: Add the Chocolate Layer
Remove the pan from the freezer.
Pour the melted chocolate over
the peanut butter base and spread
evenly using a spatula.
Immediately sprinkle with flaky
sea salt and crushed peanuts if using.
The salt on top is not optional —
it transforms these bars from
good to absolutely incredible!
Step 6: Chill Until Set
Place in the refrigerator for at
least 1 hour until the chocolate
is completely set and firm.
For the cleanest cuts, refrigerate
for 2 hours or overnight.
Step 7: Cut and Serve
Lift the bars out of the pan using
the parchment paper handles.
Place on a cutting board.
For clean, professional cuts —
run a sharp knife under hot water,
dry it, then cut. Repeat between
each cut for perfectly clean edges!
Cut into 16 squares and serve!
5 Incredible Variations
Reeses Style — add a thin layer of
crushed graham crackers to the
peanut butter base for that
classic Reeses cup texture.
Dark Chocolate — use dark chocolate
chips instead of semi-sweet for
a more sophisticated, less sweet bar.
Almond Butter — swap peanut butter
for almond butter for a different
but equally delicious flavor.
Rice Crispy Crunch — mix 1 cup of
rice crispy cereal into the peanut
butter base for a satisfying crunch.
White Chocolate Drizzle — after
the dark chocolate sets, drizzle
melted white chocolate on top
for a beautiful presentation.
How to Store
Refrigerator — store in an airtight
container for up to 1 week.
Place parchment paper between
layers to prevent sticking.
Freezer — freeze individually
wrapped bars for up to 3 months.
Thaw at room temperature for
15 minutes before eating.
Frequently Asked Questions
Why are my bars too soft?
Either the peanut butter base
needs more powdered sugar,
or the bars need more chilling time.
Always chill for minimum 1 hour!
Can I use almond flour instead of
powdered sugar?
No — powdered sugar is what gives
the base its structure and sweetness.
There is no good substitute in
this specific recipe.
Can I make these nut free?
Yes! Use sunflower seed butter
instead of peanut butter for
a nut free version that tastes
almost identical!
Why do my bars fall apart when cutting?
The chocolate needs to be completely
set before cutting. Warm knife
technique is also essential!
The Bottom Line
These No Bake Chocolate Peanut Butter
Bars are the dessert that will make
you a legend at every party,
potluck, and family gathering you attend.
Six ingredients. No oven.
Pure chocolate peanut butter perfection.
Make them this weekend and try
not to eat the entire batch yourself!
Leave a comment below telling us
how long they lasted in your house —
we bet it was less than 24 hours!